Monday, April 18, 2011

Hippity hoppity, Easter's on it's way....

Finally, progress has been made on the Easter front. I've officially decided, DYI, not so easy, not when most your ideas are coming form "eggs-cellent" fellow bloggists and Martha Stewart.

Martha, honey, you come up with the most difficult crafts, bless your heart (which excuses the fact I am blog-ttacking you for the moment). Gorgeous, but no easy task. Like your glitter eggs. "Blow out 10 eggs, rinse, wait for dry time, primer the eggs for better adhesion, drench in craft glue and then carefully dip in fine glitter. Now place on your drying rack ( homemade by you of course, by taking a slab of Styrofoam, pinning in in grid-like fashion and being sure the pins are at the same depth so your eggs sit ever so carefully atop to dry). Repeat process to other side of egg" (or as you may be referring to it by now, 'the dark side of the egg'). So, fine crafting glitter is SUPER expensive. And it comes in tiny bottles. TINY bottles.


So, I opted for plastic eggs, big chunky glitter (read--> on sale at Hobby Lobby, 50% off) and ALLLOTTT of craft glue.

Personally, I like the chunky glitter: Siiiiiiiiigh, I love pretty hydrangea flowers (was impressed with the quality of fabric flowers at Michael's, especially with the 40% off price):Yes, I cheated and got out old glass Christmas ornaments and did the button thing again. Don't judge, you try being creative after your bedtime. I needed quick and easy and something I could leave up for summer:

LOVED the sheet paper covered eggs over at Miss Mustard Seed Creations

Didn't have any antique, old, new or used sheet music, so I used scrapbook paper and mod-podged it up. Helpful hint, the skinnier your strips of paper, the prettier your egg:
And now for the coup d'état. It nearly over-ran, over-threw and held hostage every rational thought in my mind at one point. But I had to have it. First, it was simply the "wreath windows" idea. Then I started scheming, plotting and nearly stood by as my thoughts staged the ultimate betrayal, running wildly throughout dreamland. Visions of handmade banners, wall worthy wreaths and hanging handmade eggs rampantly berated my "keep it simple" train of thought. Finally, "hippity hoppity" made the cut, as did the wall worthy wreaths and a few handmade carnation flowers. Simple in theory, we won't talk about the Cricut machine doing some weird voo-doo on my letter sizing (most likely my misunderstanding) or the mod-podge trying to swallow my paper into the wrinkled, slumdogging it underworld.


And I wanted a little "natural" corner. FYI, while not the easiest to use, all the eggs used in these DIY projects, are indeed plastic, cheapo, break in half to fill with candy eggs. And coffee filters, my new best friend. Is there anything you CAN'T use them for? :)


What have YOU been doing for Easter? Hope it's a great Easter celebration for all!


Don't forget to check out the "Party Central" tab to see what parties we love linking up to every week!

Monday, April 11, 2011

Pile o' Cake


It seems I have a problem with obsession. February was a month of making hairbows. I think I made more than two dozen different hairbows. No child needs that many, but I just couldn't help myself. March happened to be a month full of cake making. First, I made a sculpted goetrax train cake for my three year old's birthday. It was an easy cake to do, and he talked about it for weeks. Then I made a bug cake and a Toy Story cake all in the same week. I would not recommend trying to do two intricate cakes at the same time, but it made two little boys happy so it was worth it in the end!
Jackie

Don't forget to check out the "Party Central" tab to see what parties we love linking up to every week!

Tuesday, March 15, 2011

Green and white Patty's Day Parade

Challenge: Decorate for St. Patty's Day and spend NO money. Only use items you currently have around the home.

Best shot:

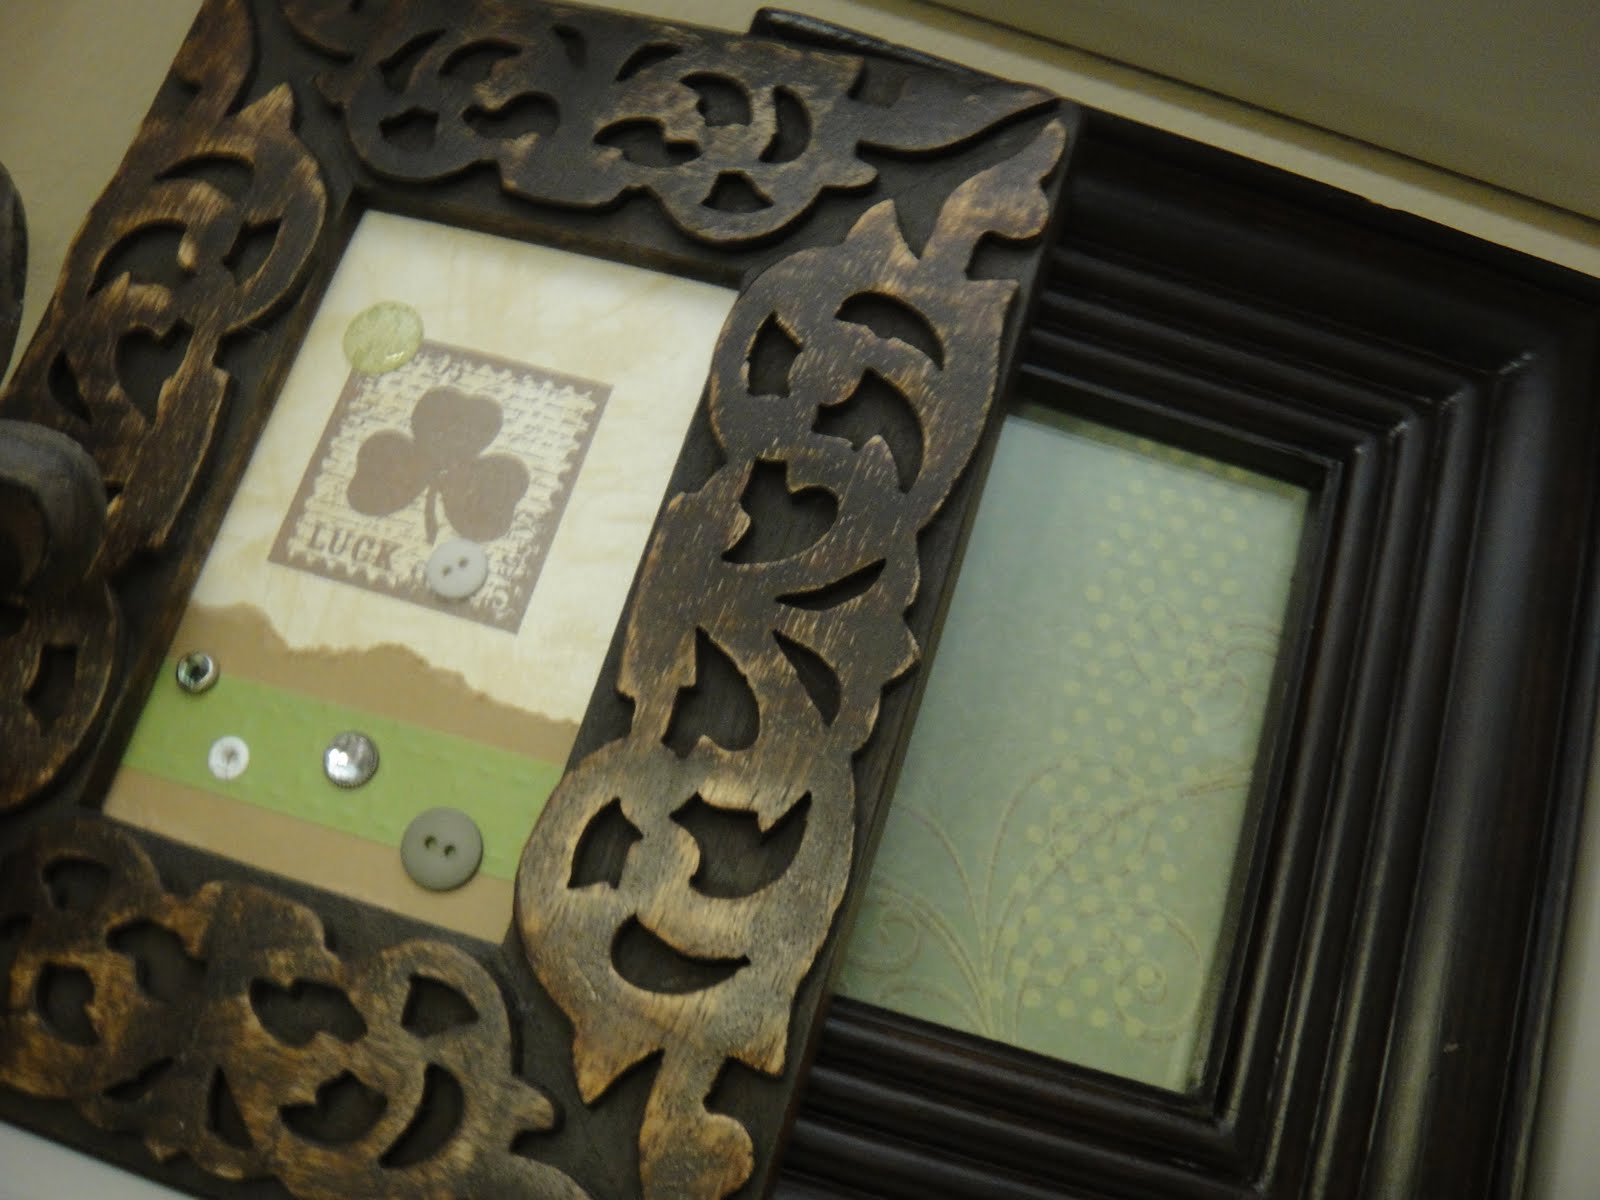
So, I kept the white decor balls from the red and white balls I bought for V-day decorations, pulled out some magnolia stems from the attic, left the "theme tree" (courtesy of darling cousin L), grabbed a potted fake plant from the bedroom and used old glass square ornaments to get my Patty Day Parade started. A glue gun, lace, moss and some green and white buttons sure can go a long way:


Shhhhh.....don't tell my husband, I cheated just a little here and bought the stamp.....all of $2 spent since Hobby Lobby's stamps were half off.

Now for the 'let's get really creative and see what happens' portion of the parade:
BANNER TIME! But the banner looked lonely, so we made some shamrocks:

The banner says "LUCK" and is attached via blinged out clothespins on white grosgrain ribbon:

Case in point: blinged out clothespins (a little glitter ribbon and more BUTTONS)


To make the shamrocks, cut strips of paper 1.25 inches wide. I didn't have enough of the same color or pattern of paper, so I mixed and matched papers on hand. Each strip is 12 inches long.


Double up each strip of paper if it's white on one side and green on the other or paper, instead of cardstock (for strength). Now, you'll put your long strips in the center and cut two long strips in half for the smaller heart inside each leaf of the shamrock. Layer like so (splayed out to show layering, but want them all in a straight line):

Now, fold over each strip, layering each on top of the previous strip. Pinch at the end, then staple all layers together:


For each shamrock, I made 3 hearts, then glued all 3 together. I added a little stem to each shamrock by folding a strip in half and gluing it to itself, folding in half again and gluing it once more to itself, then placing it between two of my hearts with more glue. Since I used old-school Elmer's glue, I used a clothespin to keep it together until the glue was dry.


Happy shamrock, happy crafting, happy Patty's Day Parade!


I'm linking up to Finding Fabulous' Frugalicious Friday!!


Don't forget to check out the "Party Central" tab to see what parties we love linking up to every week!

Tuesday, March 8, 2011

Cream Puffs for Dummies

Yesterday I plunged into the world of French pastries with this surprisingly easy cream puff recipe.


Ingredients:
1 cup water
1 stick butter
1 cup flour
1/4 teaspoon salt
1 tablespoon sugar
4 eggs

Filling Ideas:
Instant pudding
Whipped Topping
Yogurt
Anything creamy, sweet, and delicious

Directions:

  • Preheat oven to 425 degrees.
  • In  a medium sauce pan heat water and butter until butter is melted. 
  • Mix flour, salt and sugar into water/butter mixture. Should form a doughy ball.
  • Let cool (it shouldn't be steaming at this point) and mix in eggs.
  • Mixture should form a sticky, paste-like consistency. 
  • If you have parchment paper, line your cookie sheet with it. If not, leave the cookie sheet ungreased.
  • Drop spoonfuls onto sheet, bake for 20-25 minutes. 


After baking, your dollops should be cute little puffs. Do NOT, under any circumstances, poke warm puffs with a toothpick. If you see someone suggest this on a web forum for cream puff making, do not heed their counsel. I can only assume they want your puffs to deflate and be ruined, so they can keep the title "Best Cream Puff Maker" to themselves. They are NOT your friend.

The puffs should look like this out of the oven:


To fill, you can cut a small slice in one side, and squeeze in your chosen filling. I put vanilla pudding in a gallon sized bag, cut of a corner, and squeezed a little bit of love into each and every one of them. Piping bags filled with pudding, or canned cool whip would also work.


This recipe yields about 24 yummy little puffs.


Good luck, and let us know if you try it!

Sunday, February 27, 2011

Some little decor projects...

We added this little chandelier to our nursery. I got it at Home Depot. It adds just the right amount of vintage charm. Thanks for installing it Dad!
I made this magnet board earlier, but because I had to cut it with pliers, it was all bent around the corners--plus it looked a little drab with dull metal on heirloom white. I hot glued some pink and green corded trim around the perimeter of the metal for a pop of color. Then I found some after-season Christmas tree ornaments for the magnets by just cutting off the strings and gluing on round magnets to the back.

Every time I looked at the original hanger, the dusty blue and maroon bothered me. I had no maroon in the room, and my blues were either turquoise or sky. I tried to ignore it, but finally I decided to redo my Toy Land sign. Sigh, I liked that it said Toy Land--alluding to my storybook theme, but the colors had to go. I covered the graphic with scalloped cut scrapbook paper with a little mod podge, replaced the knobs with these fabulous blown glass pink ones, and put a sparkly flower embellishment in the center. Perfect.

Just goes to show you how often I redo or add to my crafts. ALL THE TIME.

Don't forget to check out the "Party Central" tab to see what parties we love linking up to every week!

Pretty Petals Embelishment

I've been into making hairbows this past week...
I saw a cute hairbow like this at a craft boutique and just had to figure out how to make my own. I call it my pretty petals bow. I'm posting the intructions here so you can enjoy making one yourself. You can use this flower for a myriad of things too--not just hairbows!

1. You will need a needle, thread, scissors, a round object the size you want your finished flower to be, pencil, a bit of fabric (big enough to draw five ciricles with your round thing), and fun things to put in the center of your flower (buttons, mini flowers, vintage jewelry, etc)


2. Trace your round object five times (I used a ribbon spool) and cut out all the circles


3. Fold one circle in half with the "good side" out


4. Take each corner and fold them into the centerline to make a rounded-bottom triangle.

5. Sew the bottom of the rounded triangle with big stitches

6. Push the sewn triangle into the middle of the thread, and repeat the process with the rest of the cirlces.

7. Push all your triangles together and then tighten your thread as tight as it will go without breaking. Knot the thread together to hold it in place.

8. Glue your center piece in the middle and fill in the back hole with hot glue (I cover the hole with fabric or a ribbon leaf--totally optional)

9. Sew it onto a shirt, pillow, bag etc, or glue it onto a pin or alligator clip.
Walla, you have your own pretty petals flower. And you made it all by yourself.
Don't forget to check out the "Party Central" tab to see what parties we love linking up to every week!

Wednesday, February 23, 2011

The month of love and the Twitter debate..

A Valentine's card, with a lot of writing room on the inside, since it's super long and skinny. Did you know it really happened? The TV series, BONES, poked a little fun at those so enamored with the Valentine parade and pomp and pointed out there's no real excitement in celebrating a massacre. Evidently, seven people were gunned down on the day of love back in 1929, a big brawl between two rival gangs, involving police impersonators and mistaken identities. Sheesh, V-day will never be the same for me.


And I made some "original tweet" cards. Just perfect for my cousin Alicia, who is un-nerved by the fact Twitter is now a social network of catty comments and pointless updates. Really, no one cares a lick if you are at the puppy store, sitting bored at the mall or watching as your life passes by.

But a card really shows you care, so send one to your true friends today:


Tweet ya later!

Don't forget to check out the "Party Central" tab to see what parties we love linking up to every week!
Related Posts Plugin for WordPress, Blogger...