Showing posts with label Seasonal Decor. Show all posts

Sunday, December 11, 2011

Curl up and Dye: How to get a canvas drop cloth any color you want!

I found a set of french chairs out by the dumpster during the great semesterly migration of Augus 2011. The best thing about college towns it that three times a year, most of the population is moving. So at the end of every Spring, Summer, and Fall the dumpsters are filled to the brim with potential. (And garbage. Mostly garbage.) Every once in a while we get lucky though. 

Here's the before:


If you're looking for a tutorial on how to re-upholster a french chair, look elsewhere. Many others have already explained this process far better than I ever could. Esspecially considering that my tutorial would go something like this: 

1) Find a cool chair in the garbage
2) Find a tutorial on how to re-upholster said chair.(Click here for a really comprehensive one @ Little Green Notebook)
3) Find someone who has a ton of knowledge and skill to help you out. (i.e. My mother).
4) Hope for the best.

And that's all there is to it! HA. 

But how about that color? That, I can tell you about.


I the look, feel, and cost of re-upholstering with canvas drop cloth. But I was torn, because I really wanted a pretty green chair. I went to JoAnn scouting for the perfect fabric, but the closest I could find to what I had in mind was  olive green suede. Expensive suede. Suede that, if we were to make a mistake and have to buy more, would cost us $60.00. And while, considering that the cost of the chair was nothing (aside from my dignity. Dumpster diving will do that to you. It was worth it.) we had a little bit of room on the budget. But not $60.00 dollars worth.

So I hatched a crazy idea. What if I found a green canvas dop cloth?

They don't make those. What if I made a canvas drop cloth green?


I used three bottles of Kelly Green Rit Dye for a 9x13 canvas dropcloth. I followed the instructions on the bottle for washing machine dying. 

The color was a little bit too "grassy", so we dyed it again mixing 1 bottle Kelly Green and 1 bottle Dark Brown. (I'm not sure why I didn't take any pictures at this point. Probably because I tired of the whole thing by then.) 

The mixture of the two colors toned it down just enough. If I had dyed it with just a bottle of brown dye to tone it down, the odds are good that it would have dyed the whole thing dark brown. 

Want to see a before?


And the after one more time:

I just love that green!

Sunday, November 27, 2011

Fresh Christmas Wreath Mini-Makeover

Did anyone else out there snatch up a real live only $5.00 Christmas wreath at Lowes this weekend? I was all about it. We've never had any real greenery, (I have a set of three tiny fake trees we use for our Christmas tree) so I was excited to try it out. 

I'm not sure what I was expecting for $5.00, but when I got to Lowes I found that the wreaths were a little small and bare.  Not exactly jolly.  But I knew I could beef it up with a little creativity, so I got it anyway.


The first thing to go was that sad little bow. I like bows, but it was just too smashed up and wrinkled to save the wreath. I snipped it off and immediately felt a little better. Then I went outside and gathered.

The boxwood hedges around our apartment are a little worse for the wear, but I'm sure they'll recover...


I looked around the house, and I found a bunch of dried white flowers that weren't being used for anything too special.

Then I just stuck the branches in. They just wedge right in there. Easy peasy. I hung it on the inside of our front door with some ribbon from the dollar store, and viola:


A pretty little $5.00 wreath! I'm loving the fresh scent of pine needles it brings into the house. I'm a little worried about it drying out before Christmas, though. Any hints on keeping it fresh? Should I be watering this bad boy?

Tuesday, March 15, 2011

Green and white Patty's Day Parade

Challenge: Decorate for St. Patty's Day and spend NO money. Only use items you currently have around the home.

Best shot:

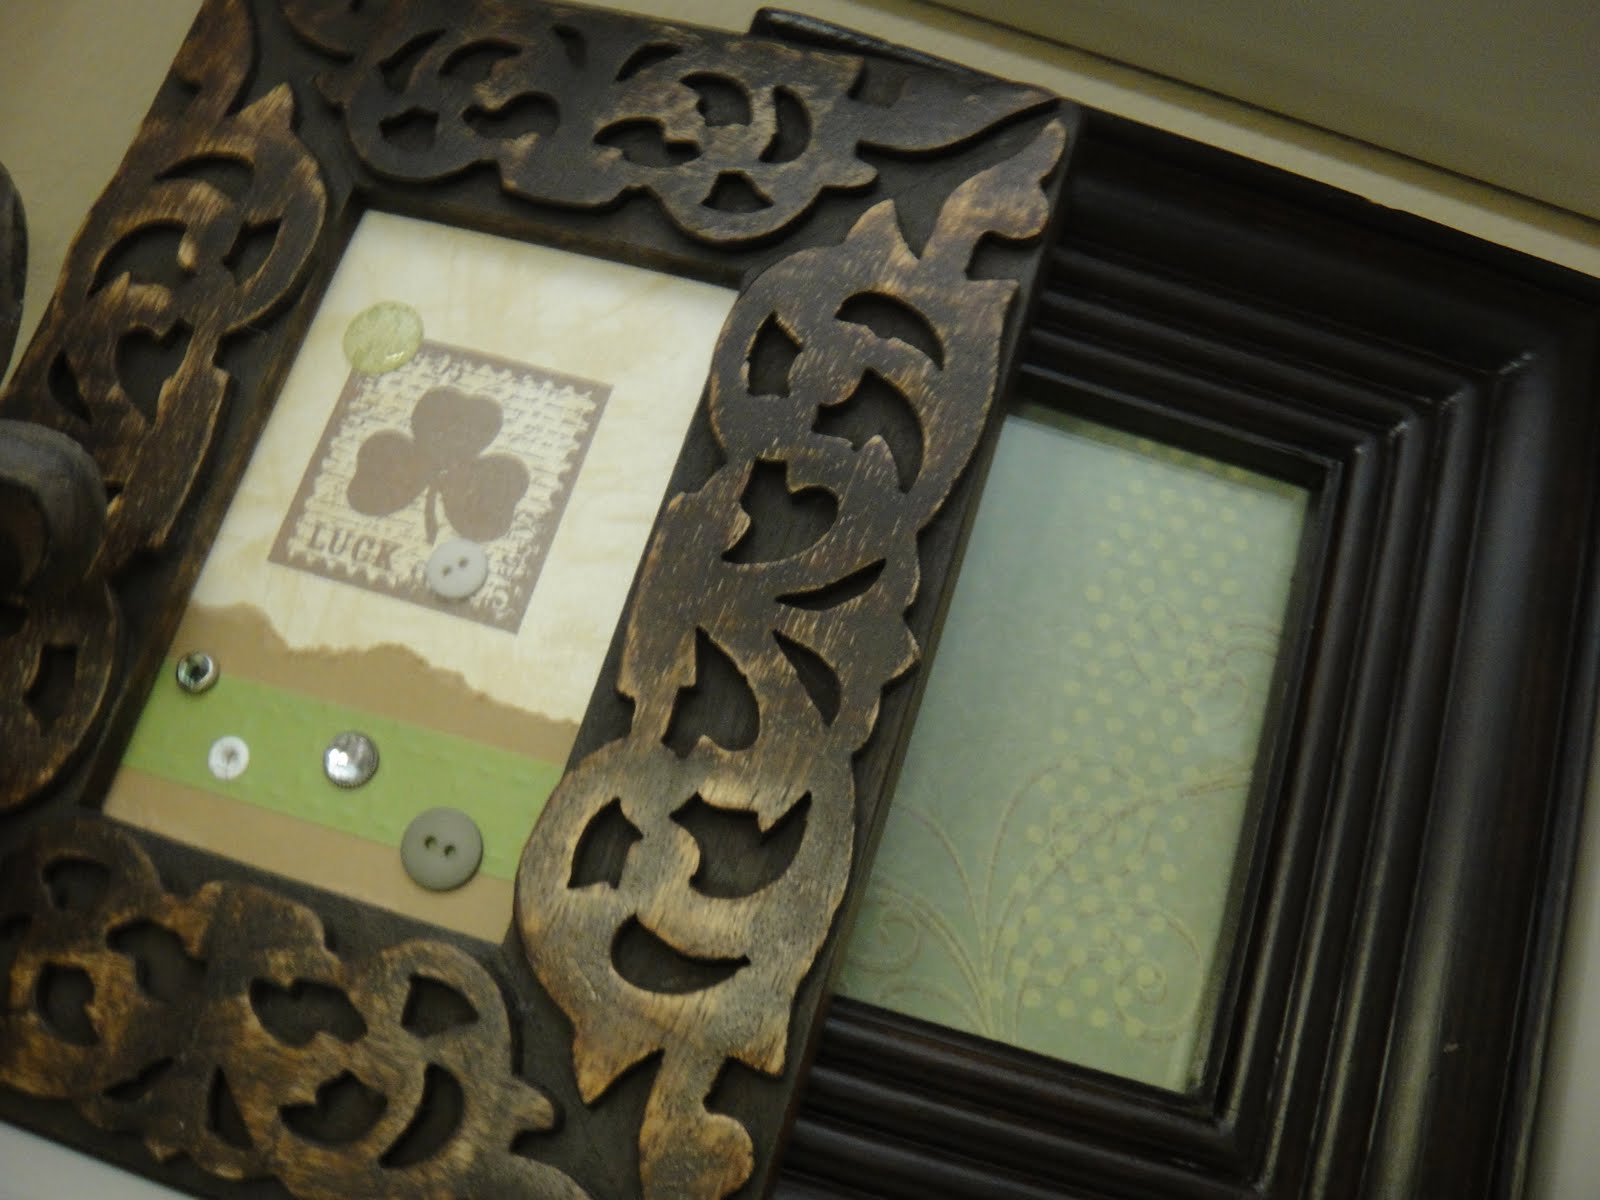
So, I kept the white decor balls from the red and white balls I bought for V-day decorations, pulled out some magnolia stems from the attic, left the "theme tree" (courtesy of darling cousin L), grabbed a potted fake plant from the bedroom and used old glass square ornaments to get my Patty Day Parade started. A glue gun, lace, moss and some green and white buttons sure can go a long way:


Shhhhh.....don't tell my husband, I cheated just a little here and bought the stamp.....all of $2 spent since Hobby Lobby's stamps were half off.

Now for the 'let's get really creative and see what happens' portion of the parade:
BANNER TIME! But the banner looked lonely, so we made some shamrocks:

The banner says "LUCK" and is attached via blinged out clothespins on white grosgrain ribbon:

Case in point: blinged out clothespins (a little glitter ribbon and more BUTTONS)


To make the shamrocks, cut strips of paper 1.25 inches wide. I didn't have enough of the same color or pattern of paper, so I mixed and matched papers on hand. Each strip is 12 inches long.


Double up each strip of paper if it's white on one side and green on the other or paper, instead of cardstock (for strength). Now, you'll put your long strips in the center and cut two long strips in half for the smaller heart inside each leaf of the shamrock. Layer like so (splayed out to show layering, but want them all in a straight line):

Now, fold over each strip, layering each on top of the previous strip. Pinch at the end, then staple all layers together:


For each shamrock, I made 3 hearts, then glued all 3 together. I added a little stem to each shamrock by folding a strip in half and gluing it to itself, folding in half again and gluing it once more to itself, then placing it between two of my hearts with more glue. Since I used old-school Elmer's glue, I used a clothespin to keep it together until the glue was dry.


Happy shamrock, happy crafting, happy Patty's Day Parade!


I'm linking up to Finding Fabulous' Frugalicious Friday!!


Don't forget to check out the "Party Central" tab to see what parties we love linking up to every week!

Sunday, January 2, 2011

Does the thought still count if it occurs last minute?

I needed to come up with a last minute gift idea for Cory, after accidentally revealing what his real Christmas gift was. It was two days before Christmas, and Cory's only wish was that I wouldn't spend any money on him. My mom, also known as Lord of the Craft, came to the rescue. She helped me whip up a quilt for him, using only scrap fabric she had in her closet.


 We designed each square to portray a part of the story of how we met and fell in love.


1) Cory offered to help us paint our new house. He got a little more than he bargained for that day as he not only helped paint, but also helped clean up a gallon of yellow paint that spilled in my car...
2) He came back for more though, and asked me to play golf with him.
3) Many nights were spent watching movies and...
4) Going out to dinner :)

5) We made Christmas cookies together in December. That was the first time Cory decided to have a serious talk with me about our future together. Aww.
6) We spent our first Christmas on different sides of the country.
7) He took me out on a rainy night and popped an important question!
8) We were married 6 months later.


He was so surprised to open up this gift, and I think I even saw a little teeny tear in his eye (he denies it...). We love hanging out and watching movies and TV together, so it's the perfect thing for us. We use it all the time, and its a sweet reminder of our beginning.

Tips for your own crafty scrap quilt:

  • Give yourself more than two days. It takes time to do it right, especially if you're learning.
  • Have someone with experience to help. I have very little sewing experience, so having my mom there--a veteran seamstress--was invaluable. 
  • Keep it simple.
  • Have lots of spare thread! It took us about 4 spools of thread because of all the little details we had to sew around.
  • Patience. 

I'm planning on doing something similar with the 9 year old girl I watch after school. We're using fabric markers to draw different pictures on each square instead of fabric cut outs, and using simple yarn ties to keep it together rather than quilting it together

If you've been wanting to try something like this, but haven't mustered up the courage, let me reassure you--you can do this! It can be simplified to any skill level and it's so worth it to feel the rush of pride every time we pull it out!

Lindy

Linking up to Donna's Funky Junk Christmas Story Edition. Coming from 100% junky fabric scraps make me think it fits in well. Check it out to see the other awesome funky junkers.

Also linking up at the Shanty Sister's I Made it Without My Hubby party!

Thursday, December 23, 2010

Some of my favorite things...

Christmas is by far my favorite holiday. I love being able to focus on my Savior's birth and celebrate it with loved ones. The aura of giving, happiness, childhood, sweets, and love is all around, and I can't get enough of it! That being said, I just love decorating for Christmas. Here are some of my favorite things.

My entry way makes me happy. Next year I am going to frame some vintage prints for the shelf.
Here's a close-up of the stair railing
My beloved candy themed tree

Close-up

YUM!

My favorite Nativity Scene

<*> Jackie

Don't forget to check out the "Party Central" tab to see what parties we love linking up to every week!

Monday, December 20, 2010

My Name is not Martha Stewart, however....

I think I could be a useful part of her team ;). I was rather over zealous when I took a liking to her satin ribbon poinsetta wreath (found here).

Oh my, oh my, oh my! The whole wire thing, bad idea. WHAT were Martha's minions thinking on this one? Maybe I am bad about following directions. Maybe.

SO, if you would like to make one of these pretties....a few minor adjusments.

Don't even try to wire these puppies together. It's a nightmare. Sure, you can try if you'd like, but by the time you've 'mastered' the wire trick, you're a basket case.

Instead, cut your 4 (not 3 like Martha says) diamonds of ribbon (oh, and something I didn't do, but will need to, take a lighter and LIGHTLY melt the cut egdes of the ribbon, to avoid major fray out):


Now, Martha's mob will tell you to fold them long ways and stagger them, pinning and then wiring all together in the end. Ha ha ha. Let me know when you get the hang of that. The century ought to be about half over by then. Instead, invest in a needle and matching thread, or don't match, it won't show.

Still fold longways, I found a threefold to be easiest and then pinch together in half, like so:


Sew the pinch together, be certain to get all layers passed through twice and knot off. Repeat 3 more times with your remaining diamonds. Now for some good ole craft cheating, well more of it anyway, go out and buy some 2 inch corsage pins....yep, we are not gluing down a 100+ little stamen beads. It's the best $3 box you'll EVER buy....EVER.
In fact, I bought two, to be sure I had enough pins, since I tried Martha's minions "idea"about a third a way around the wreath. 7 hours of that kind of torture will tell you, "You know, $85 for one of these babies, not a half bad deal, really. Wonder how Hobby Lobby will feel about me throwing my half baked wreath at the return desk, with all my opened spools of ribbon? Surely, they'd work me some kind of deal, right?" Ugh.....I was stuck with my crazy idea of poinsetta wreaths hung beautifully from white satin ribbon on either side of the Christmas tree, in the windows.


Thankfully, with my new technique and corsage pins, the rest of this project flew by. Pin each little "v" with a corsage pin:


Create tons of beautiful poinsettas in half the time of Martha's menacing little minions:


Not quite as full yet. But soon my pretties, very soon. I kicked the bucket at 1:45 AM. Work was far to close at hand to continue filling in my blank spots.

OOOOOOO AHHHHHHHH:


Oh and here's our very, very first Christmas tree! I got a steal online at Target....a tree on CLEARANCE two WHOLE weeks before Christmas!! I borrowed ornaments from a good friend to fill her out. Even on clearance, there wasn't much room in the budget for ornaments. What very, very sweet and wonderful friends I have! (Thanks P!)


Don't forget to check out the "Party Central" tab to see what parties we love linking up to every week!

Friday, December 3, 2010

Craftmas 2010

I'm so excited to show everyone what we've been working so hard on for the past few weeks! Decorating the house for our first Christmas has been so much fun, and we can't wait to spend it together. We're not exactly making the big bucks, so to keep costs down we used a lot of paper, hot glue, and Black Friday deals. Just a few touches of Christmas added into our everyday stuff seemed to make a pretty big difference. Bonus of living in a tiny ghetto apartment I suppose. Lucky us!

The house was looking pretty clean last night, after about a week of grossness, so it seemed like an excellent time to snap a few pictures. Wanna see?

This is the general setup. Stockings hung from the window with care, and some sugar cookie candles making the house smell delicious make for a niiice night.


Our table got a little touch of Christmas for pennies. A stray ornament, a few glittery letters and some peppermint do the trick nicely. Wanna closeup? Don't mind if I do...


I was all about getting a real tree for our first Christmas...until I saw these doorbuster Alpines at Micheal's. Three pre-lit allpines for $15.00? Yes please.

Twine, hot glue and glitter letters: Where have you been all my life?

See the giant jewels? Leftovers from a Breakfast at Tiffany's  Bridal shower  1.5 years ago.
I had a 20% off coupon, gift cards and the overwhelming urge to buy these adorable sock monkeys about 3 weeks ago. They are our official "First ornaments".


I had five nutcrackers from the 10 for $10.00 bin at Michaels (aka the 5 for $5.00 bin.) I put them all over the house and then timed Cory while he tried to find them...


Here in balmy Florida our hopes of a white Christmas are low. Here's to hoping.


I used this easy tutorial to make some 3D paper snowflakes.Copy paper, scissors and hot glue is all it takes.

Dollar Tree ornaments (1.00 for 15 ornaments?! ) and some fishing line are magical.

I switched out our regular pictures for wrapping paper, christmas cards and a print out of Norman Rockwell's Santa. Total cost: Zero dollars!


The ONLY card I could find.


I love that fat Santa. Thank goodness there is a color printer at Cory's office.

I just had to use the new cricut for something. So, we got some personalized stockings.


 Christmas even made an appearance in our room! The last nutcracker matched perfectly, so he gets to spend some quality time with my hair straightener.


And, this is mostly a shot of our bed. I made it! But there are also some floating ornaments in the corner.


So, that's it! Our first Christmas in the making. Any tips for making our first Christmas awesome?


Lindy

I'm linking up to Finding Fabulous--Check out the other awesome links there!
Related Posts Plugin for WordPress, Blogger...