Showing posts with label Home Decor. Show all posts

Sunday, October 2, 2011

The Great Wall of China

I've been wanting a cute hutch for extra storage for a while now, but seeing Jackie's post about her cute new hutch earlier this week really clenched it. So, being a woman of action, I turned to craigslist.

Craigslist and I are BFF. It knows me. Every time I need something I just pop in, and it says, "I've been saving this one decently priced, perfectly casual thing just for you. You're welcome."

Seriously. After two seconds of looking through the Craigslist search return of "China Cabinet" I saw this little gem.


It was priced at $65.00, but I offered $50.00 and they guy said okay. Sold!

It's not solid wood,  it was pretty beat up, and I'm wanting to lighten things up around here, so I knew I'd be painting it a la The Nester's China Cabinet.

We picked it up on Wednesday, and I spent Saturday listening to wise people and painting my heart out. It was an amazing day.


Done! Well, really she needs to dry for at least 24 more hours. I should have waited at least that long before putting stuff in her. I just get too excited. One of my nearest and dearest friends was over that night, and I enlisted her help in putting it together, and rearranging my collection of white dishes inside.

What's better than a Saturday night spent accessorizing?

 I can't think of a thing. Maybe she can, but she didn't complain.

Here's so you can see how this painted piece kinda works with the paint color of the "entertainment center" in the next room over:


I was worried about having two big painted things so close together...but, I think it turned out just fine.

I had these little pink knobs lying in wait for the perfect future project. Do you think this is "the one" for them? Or should I go with something white and bright?


I didn't really notice these cute little details before--I think the paint really brings them out:

And here's how it looks from the other side.


Here are a few tips if you're ready to take on your own huge piece of furniture painting:
1) You should sand. And prime it, if you're really going to do it right. I sanded, and got so caught up with I forgot to bring out my leftover primer. Luckily, the sanding helped the paint stick, and the BEHR paint is quality, so it's fine so far, but I do worry about peeling.
2) The right paint and tools make a difference. I splurged on the real deal paint and I finally bought a Purdy paintbrush. I used a small sponge roller for the flat areas, but that Purdy got right into the nooks and crannies like a charm. It was amazing. There are no stray brush hairs, and the paint went on so smooth...okay, I'm gushing. I don't think I can ever go back to the two dollar brushes.
Update: 3) The paint color I used is BEHR's Garden Wall (730D-4) from Home Depot. It's my new favorite shade of Greige. It goes on really light at first, and might give you a panic attack as you realize "This is NOT the color I wanted", but once it dries it does darken!


Alright, Kourtney. Now it's your turn to get a hutch. Everyone else is doing it. I expect your post within a week :)

I can't wait to get started on our dining room table/chair revamp now! Well, actually I can. This job was a lot of work. But I'm excited to get started in the somewhat near future, and get the dining area DONE(ish).
Linking up to:
Metamorphasis Monday
A-Z Tutes and Tips
Miss Mustard Seed's Furniture Feature Friday
 Perfectly Imperfect Random Furniture Link up!

Sunday, May 15, 2011

Dresser Makeover

Yesterday I finally got around to painting an old dresser I....found on the side of the road 9 months ago. I'm not sure which aspect I should be more ashamed of: The fact that I'm posting back to back trash projects, or the fact that this dresser sat in my house in this condition for 9 months.

I've decided not to worry about either. Can't win them all, right? 

I wanted to retain the true "cast-off trash" aura of the piece, so I decided to redo it only using items I had leftover from other projects. I like to do projects this way every few months to use up leftover crafty stuff.

 I succeeded, so this makes this total project cost: ZERO dollars. 

I'm pretty excited about that.

Here's the big reveal:


 What do you think?

There were a few problems we had to overcome. The right side of the dresser looks liked like this:


While the left side of the dresser looked like this:


At first, this seemed like a deal breaker. But once I looked a little closer, I realized I could just take the ride side molding off.


Easy peasy.


Then I introduced our dirty little dresser to Mr. Clean.


I filled in the gouges and nail holes with a little bit of Elmer's Wood Filler.


Someday I'll invest in a putty knife.


Once the filler dried (it took about 15 minutes), I ran the mouse sander all over it to prep for painting.


 It took about three coats of white paint to cover it all. I ran out of paint towards the end...but I had enough ivory spray paint left over from another project to finish it. "Good enough" is becoming an increasingly popular motto around here.

A few months ago I bought some pink vinyl shelf liner from Micheal's. It was on super sale, and I wanted to use it to cut stencils with the Cricut. I decided to use it in this dresser instead.


I roughed up the edges a bit for some distressed effect...something that baffles my husband, Cory, every time I do it. I'm not sure if I'm completely happy with how the distressing looks now, but it definitely helps the cute details on this dresser stand out. Right?


Here's a look at the side molding trouble spot:


I use this dresser to organize my crafty stuff. Pretty paper, unused picture frames, at least nine different types of adhesive, etc. I love the versatility of dressers! It's right next to the desk/closet where I keep my desk and sewing machine for easy access during projects.


That's how I filled my spare time on a busy Saturday! It feels so good to get that long awaited project DONE. You should tackle that project you've been putting off. I know you have one.

Lindy

Thursday, May 5, 2011

Take a Seat

Things have been crazy around here lately, but I finally have made some crafty progress around here. Let me show you the best college graduation present I could ever ask for.

A few months ago I found this sweet chair (Click here to read the full story):


Last week my my parents were in town to visit, and I enlisted their help in a little re-upholstery project. They are the ones who bestowed this DIY, crafty attitude on us, so the least they can do is help us out every once in a while, right Mom and Dad? :)

 I sanded and stained my little heart out on Wednesday night, so we'd be ready to put on the new fabric Thursday.


Look at them go! The skills our parents possess never fail to amaze me. We grew up refinishing furniture together, so it was a nice little jaunt down memory lane to have us all working together again.

It basically turned into the lord of all crafting sessions, when Tanya and Jesse stopped by and couldn't resist the fun.

How many Hansen's does it take to reupholster a chair?


As  many as we can get.

We worked hard, and whipped it up in no time! Check it out:


I stained the wood with Miniwax Dark Mahagony, left over from a previous project. I finished it with Miniwax Finishing Wax.

I wanted the hand-rubbed, vintage effect of the Finishing wax for this chair, rather than the ultra glossy finish of varnish.

We used a painter's drop cloth for the chair seat cover. We purchased a 9 ft. cloth at Lowes, and it only cost about $12.00!

For more drop cloth ideas, you really need to check out Miss Mustard Seed. She is basically the queen of all things drop cloth, and has an awesome drop cloth slipcover tutorial.


Sometimes I thought I was going to lose my mind (I forgot how much work it is to refinish wood! I thought the sanding would never end!), but once the reinforcements arrived, things moved right along.

Seeing as how this project was pretty much completely inspired by the amazing Miss Mustard Seed herself, I'm linking up to her Furniture Feature Friday Party! You guys need to check it out!

Lindy

Tuesday, March 15, 2011

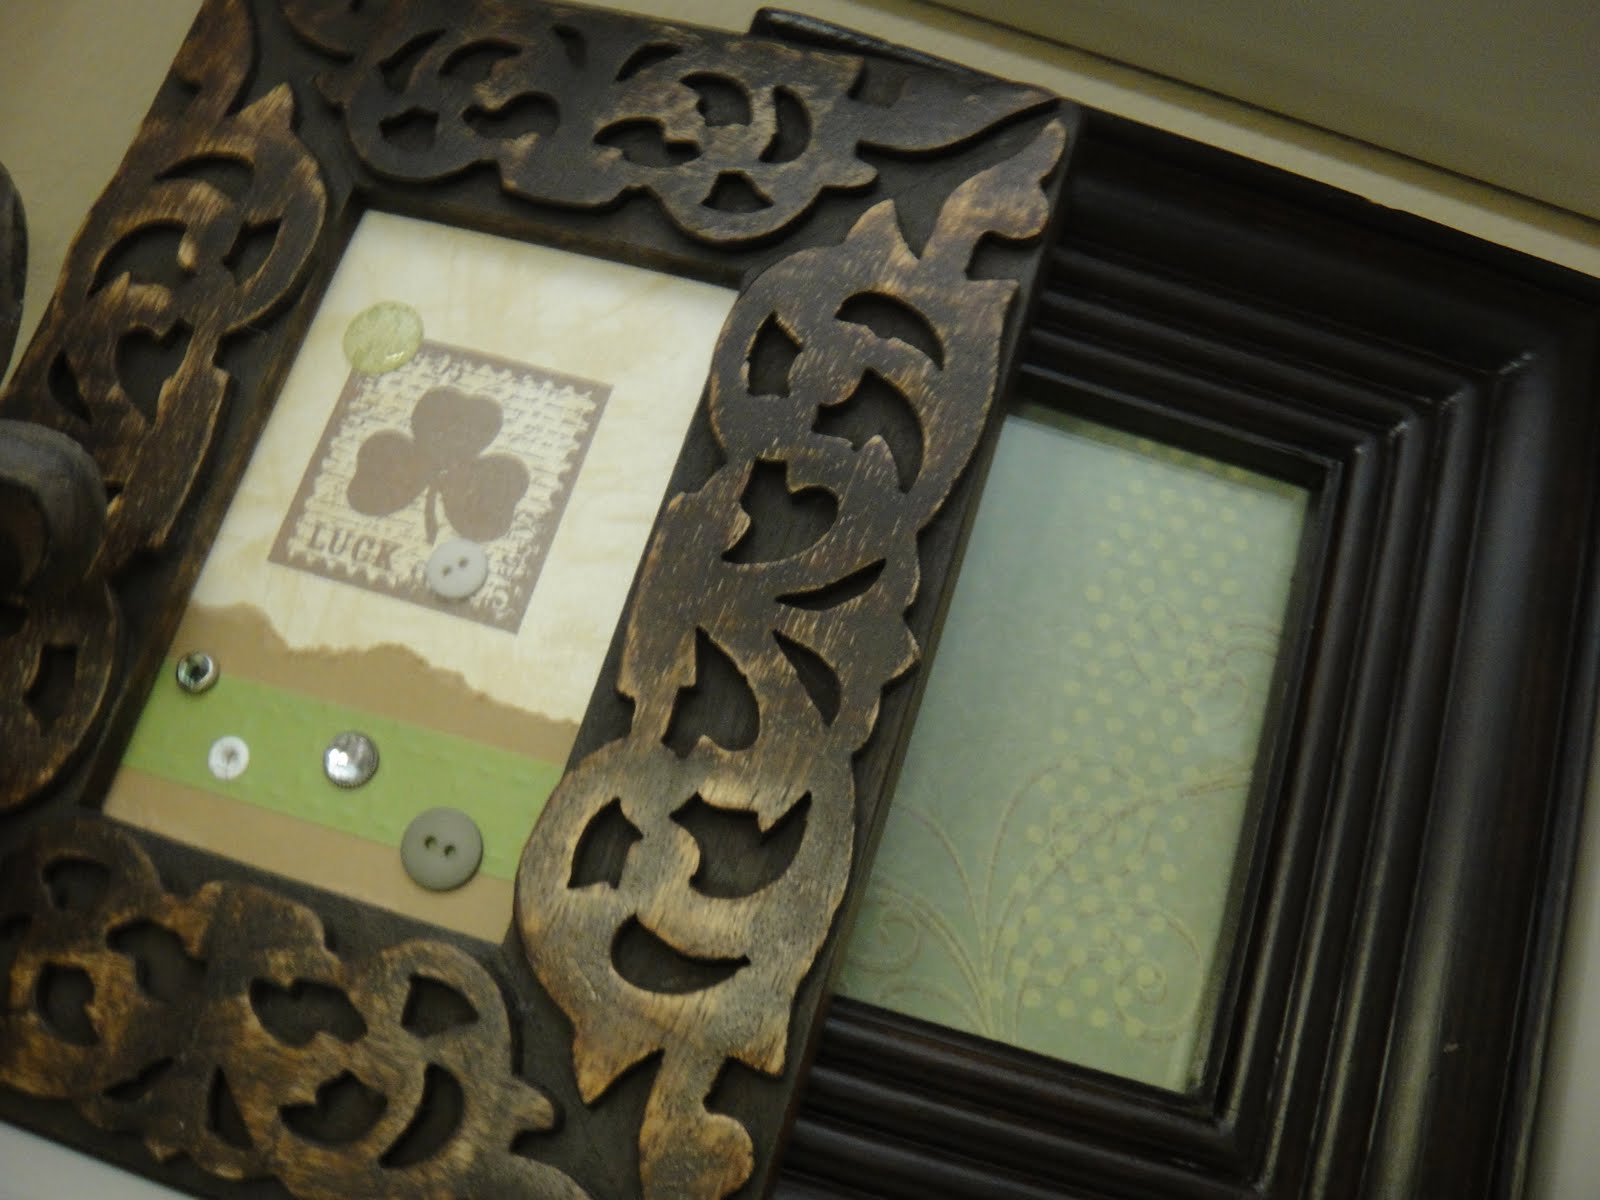
Green and white Patty's Day Parade

Challenge: Decorate for St. Patty's Day and spend NO money. Only use items you currently have around the home.

Best shot:

So, I kept the white decor balls from the red and white balls I bought for V-day decorations, pulled out some magnolia stems from the attic, left the "theme tree" (courtesy of darling cousin L), grabbed a potted fake plant from the bedroom and used old glass square ornaments to get my Patty Day Parade started. A glue gun, lace, moss and some green and white buttons sure can go a long way:


Shhhhh.....don't tell my husband, I cheated just a little here and bought the stamp.....all of $2 spent since Hobby Lobby's stamps were half off.

Now for the 'let's get really creative and see what happens' portion of the parade:
BANNER TIME! But the banner looked lonely, so we made some shamrocks:

The banner says "LUCK" and is attached via blinged out clothespins on white grosgrain ribbon:

Case in point: blinged out clothespins (a little glitter ribbon and more BUTTONS)


To make the shamrocks, cut strips of paper 1.25 inches wide. I didn't have enough of the same color or pattern of paper, so I mixed and matched papers on hand. Each strip is 12 inches long.


Double up each strip of paper if it's white on one side and green on the other or paper, instead of cardstock (for strength). Now, you'll put your long strips in the center and cut two long strips in half for the smaller heart inside each leaf of the shamrock. Layer like so (splayed out to show layering, but want them all in a straight line):

Now, fold over each strip, layering each on top of the previous strip. Pinch at the end, then staple all layers together:


For each shamrock, I made 3 hearts, then glued all 3 together. I added a little stem to each shamrock by folding a strip in half and gluing it to itself, folding in half again and gluing it once more to itself, then placing it between two of my hearts with more glue. Since I used old-school Elmer's glue, I used a clothespin to keep it together until the glue was dry.


Happy shamrock, happy crafting, happy Patty's Day Parade!


I'm linking up to Finding Fabulous' Frugalicious Friday!!


Don't forget to check out the "Party Central" tab to see what parties we love linking up to every week!

Sunday, February 27, 2011

Some little decor projects...

We added this little chandelier to our nursery. I got it at Home Depot. It adds just the right amount of vintage charm. Thanks for installing it Dad!
I made this magnet board earlier, but because I had to cut it with pliers, it was all bent around the corners--plus it looked a little drab with dull metal on heirloom white. I hot glued some pink and green corded trim around the perimeter of the metal for a pop of color. Then I found some after-season Christmas tree ornaments for the magnets by just cutting off the strings and gluing on round magnets to the back.

Every time I looked at the original hanger, the dusty blue and maroon bothered me. I had no maroon in the room, and my blues were either turquoise or sky. I tried to ignore it, but finally I decided to redo my Toy Land sign. Sigh, I liked that it said Toy Land--alluding to my storybook theme, but the colors had to go. I covered the graphic with scalloped cut scrapbook paper with a little mod podge, replaced the knobs with these fabulous blown glass pink ones, and put a sparkly flower embellishment in the center. Perfect.

Just goes to show you how often I redo or add to my crafts. ALL THE TIME.

Don't forget to check out the "Party Central" tab to see what parties we love linking up to every week!

Wednesday, February 9, 2011

Old book, New Tricks


The clothespin memo frame above Cory's desk needed some help.

He spends at least four to six hours a day studying there, and all he had to inspire him was a few random cards that I put up there 6 months ago. I assumed he would actually use the board, and eventually it would be filled up with his notes, or to-do lists, but turns out, he's not a big list person.

See? He hates it.

So, I wanted to make something that would make a statement, but not be too cutesy. It is, after all, for a man.

 Enter Rand McNally's Atlas, a mammoth vintage book I scored at Good will for 3 dollars a few months ago:

Oh Rand McNally, I love you so.

I ripped a few pages out of the ol' McNally, and ran them through the cricut to make some little triangles. If you don't have a cricut, this is where you would cozy up to a pair of scissors all friendly like. Each page made about 4 triangles.

Then, and this is the part that kills me,  it was easy peasy to sew them all together with the sewing machine. Did you know sewing machines can sew paper??? They can!!! Like a DREAM.

Well, it was news to me.

In about 5 minutes, I had a cute little pennant banner:


And, while I was in the page ripping mood, I went ahead a snagged the map featuring Belgium and the Netherlands. That's where Cory served his 2 year mission for our church, so I thought he might appreciate it. (Note: He totally got excited about the map, and started showing me every place he's been. It was cute.)


Here's a closer shot of the seam:
So..maybe it's not exactly straight. I think that adds to the charm...

I really can't believe how simple and easy this was! And I feel like a got a whole lot of bang for my buck here, which is always a plus.

And because its February:


So, go forth! and sew paper!

Lindy

I'm linking this Pile o' Craft up to these parties:

Beyond The Picket Fencegiveaways


Related Posts Plugin for WordPress, Blogger...