Tuesday, November 9, 2010

Storybook Nursery

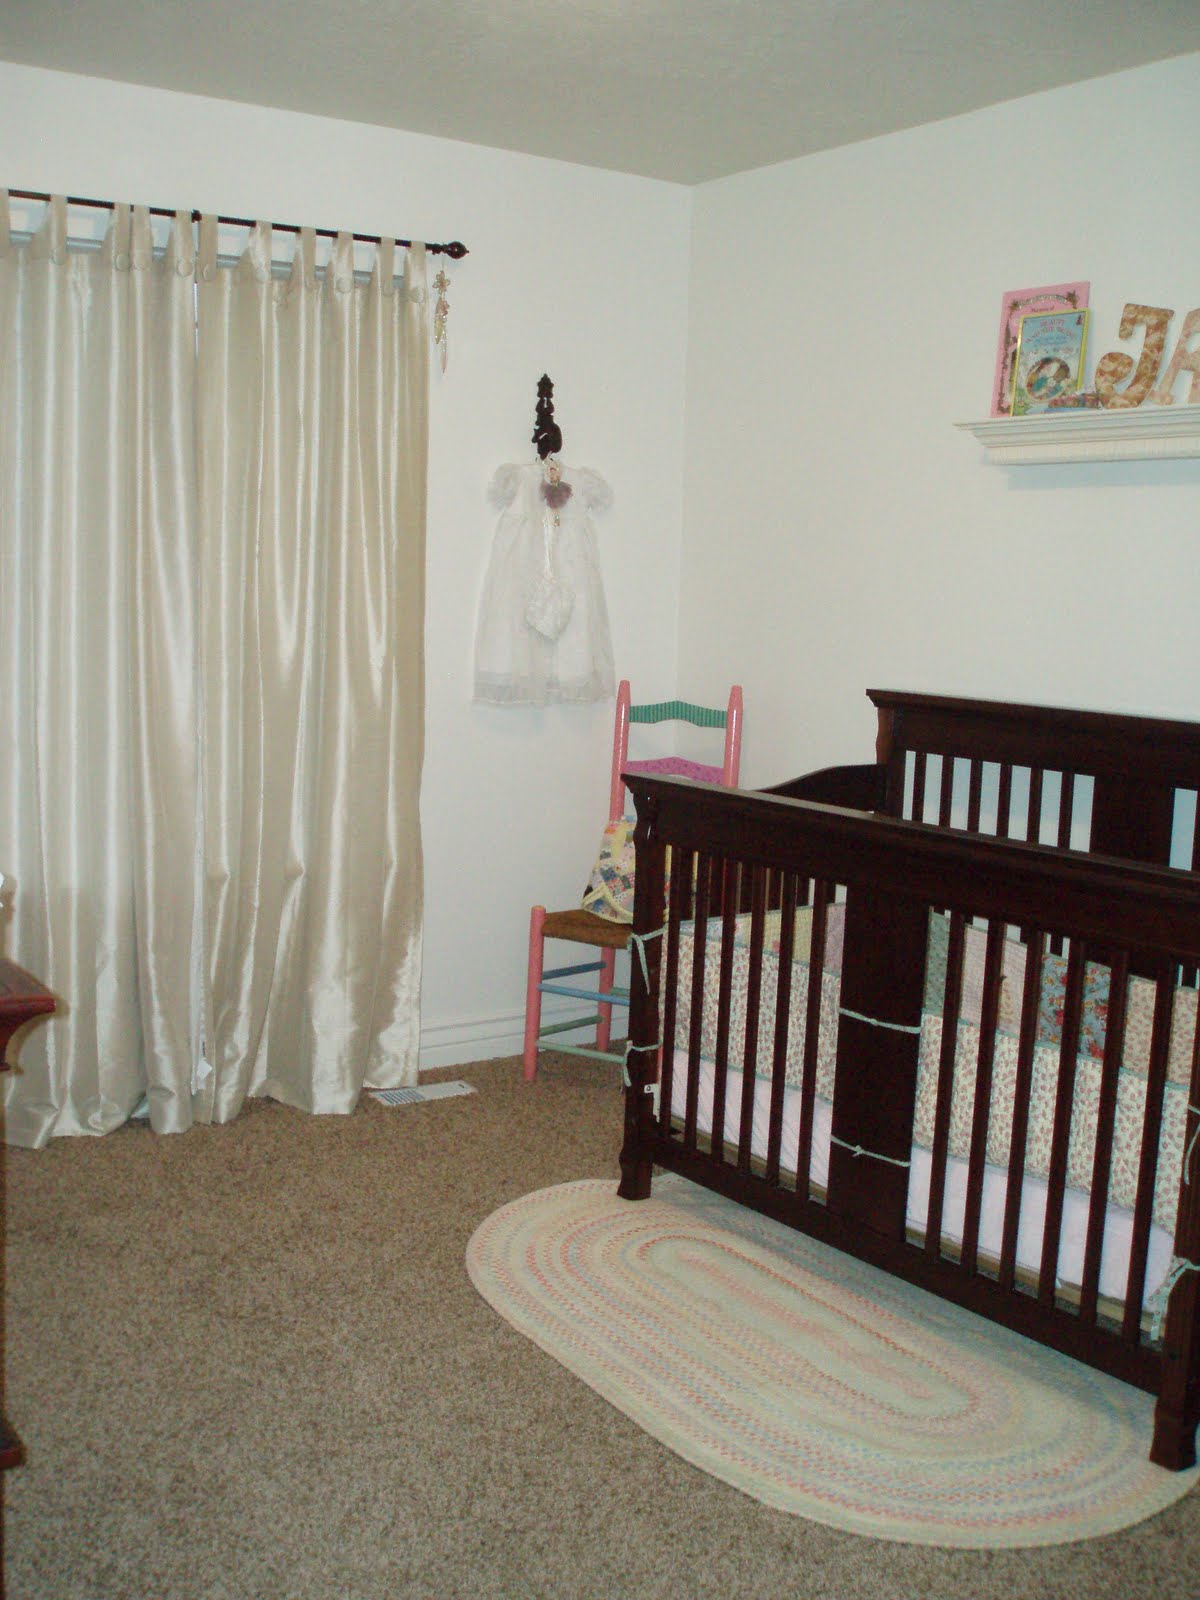
When we found out we were having a little girl, I knew I wanted to do a "fairy tale" nursery. My nursery concept is actually based on my favorite childhood books and items that are special to me, so it is a little different than the princess fairy tale nurseries that are so popular right now.


Here I mixed tea time with the garden. Memories of Alice in Wonderland and The Velveteen Rabbit come to mind when I look at it.


I painted this chair during a summer break from college--long before I ever thought about children. The quilt was actually a wedding present from my parents. My mother, grandmother and great grandmother all contributed to it.

Here is my blessing dress with a little nutcracker ballerina. I've always loved the Sugar Plum Fairy.


This shelf (yes--it was an unfinished wood Roberts shelf I got for half off) holds some discount finds that really completes the story tale theme. I found some vintage copies of Beauty and the Beast (my favorite fairy tale) and Cinderella at our local thrift store. Rummaging through my Easter stuff, I also found an old mini flower tea set my mom sent me that I had adored growing up. To do the name letters, I bought some cute letters at Hobby Lobby and covered them with scrapbook paper using mod-podge. Unbelievably, Jason happened to have the awesome frog prince sculpture by artist Gary Price. I scored the Glenda vintage barbie on clearance at Wal-mart just a few months ago!


This lamp is actually sister inspired. You'll notice that the rosettes are none other than the glue gun rosettes previously featured on this blog.


Now all I have to do is paint the room "Cinderella Blue" and finish sewing the three layered ruffled crib skirt. Those feats will deserve a separate post of their own!


Don't forget to check out the "Party Central" tab to see what parties we love linking up to every week!

BOY'S ART

Long blank walls without any features like windows, doors, or furniture petrify me! It means either I have to get pretty creative or spend some money. My little boy's room had two of these walls. Yikes! I had been collecting vintage transporation decorations for almost a year, so I had quite a few knick knacks, but the big bang was missing. I liked the idea of getting something like this or this
to fill in the great void (pieces are from pbk if anyone is interested), however, they were above my budget and didn't even match the colors of the room. Besides, I knew I could make one for free, and what can be better than free?

First, I decided to recycle some old wooden plaques that I was not using. I didn't have a really big one, so I put two matching ones together and ended up with the split art look. My finished project ended up being 32"X 20". Then I simply painted them antique white to establish a base color.
For simplicity's sake (and to avoid making it look like cheesy DIY art) I decided a screen print of a car would be my best option. I took the vintage cars on his bed that I was using as a model and measured how big the car needed to be to fill the canvas. Then I drew the car by multiplying the original car's lines by that scale. I am not an artist, so turning it into "painting by measuring" really worked for me.

After I painted the car, I decided it needed a little personality, so I mod-podged some paper accents to the art and dirtied it all up by glazing on some diluted brown paint. It was pretty easy to do and saved me quite a bit. Plus, I got to choose the colors and add personalization to it.


For fun and diminsion I added some planes above the car art.

To finish the other wall, I bought some unfinished wood shelves and a magnet board half off from Roberts. He loves his little vintage transportation room. Now I just need to paint his walls tan and it will be completely finished!


Don't forget to check out the "Party Central" tab to see what parties we love linking up to every week!

I think maybe I want it all...

Garage sales are so fun. Especially when you can pick up some really great finds for less than $24!!

Point in case:

I got really excited with these finds, it meant getting a few things up above my kitchen cabinets, a goal I've been aiming for since we bought the house!

And in my excitement, I put EVERYTHING up:

I knew it looked a little cluttered and texted the picture to sisters, mom, friends and pretty sure I may have texted the picture to complete strangers for their input. However, they all agreed, too crowded, too much, so I re-vamped and now I'm done. Or rather, I'm done for now:

Don't forget to check out the "Party Central" tab to see what parties we love linking up to every week!

Welcome to my entryway...

My first linky party post!!! I'm so excited, thank you Dana for the invite!
http://danajeanward.blogspot.com/2010/11/strut-your-stuff-link-party-and.html

Sadly, this is what it looked like for close to a year:


Then I sanded it one day in October since I had bought the stain and poly the day after I bought the bench almost a year ago:


Then I stained it and cried when my polyshade did not work as it promised to. So I sanded again and again and again. Then I called Dad, who politely reminded me no Hansen should ever be using a Polyshade for ANY peice of wood, and reverted to regular stain and polyurethane.


And while the stain dried, I made toilet-paper-roll wall art (idea found here: http://www.designspongeonline.com/2009/11/diy-project-toilet-paper-roll-wall-art.html).


Then one glorious day, almost a year after purchasing the bench and stain, a month after sanding and re-sanding and a week's worth of staining, it's done!


Look at that poly shine:Pillows were purchased at Pier 1 with coupons :D. Oh how we do love coupons!

Don't forget to check out the "Party Central" tab to see what parties we love linking up to every week!

Sunday, November 7, 2010

Pillow Makeover

When I bought a couch with my very first room mate right out of high school, it came with two throw pillows. They weren't exactly my definition of cute. See for yourself.


It's been a little over 3 years now, and I finally did something about those ugly pillows.  I've been meaning to make some pillowcases for...well, a little over 3 years. Once I got started it was easy, especially if you're not picky about stuff like measuring.

A little bit of felt, some dollar store doilies, and spray adhesive later:


To make the yellow pillow I just sprayed doilies with Elmer's craft Bond, and stuck them on the fabric. They've held up pretty well, but I would recommend reinforcing with some actual fabric glue, or even actual sewing,  as well.

The grey pillow took a little bit more time. I'll give you a step by step.


 1) Cut 3 inch circles out of felt. I chose three shades of grey and black. One flower takes about 25 circles.


2) Make the first petal by folding one circle in half, and sewing the bottom down with a few tight stitches.


3) Repeat, and overlap the next petal slightly.


4) Continue pattern. The last petal should be sewn right next to the first petal.

5) Make one big circle of petals, and then a smaller circle inside of it.


6) To hide the stitching on the bottom of your petals, just glue a circle of felt to the center of your flower.


You should end up with something like this:


Here they are all together again, just in case you forgot:


One detail that I was extra proud of was the back of the cases:

I used two separate pieces of fabric, and overlapped them. That way I can take the case off for easy washing, seasonal changing, etc. For someone who doesn't sew, it was a pretty huge breakthrough.

This took less than an hour, and completely finished the look of the living room. The colors matched the one other pillow we own perfectly, which is a major advantage to making your own cases.

Also, when I showed Cory the final results, he said, "Hey! Those look like real pillows."

Thanks for the vote of confidence, babe.

Lindy

Don't forget to check out the "Party Central" tab to see what parties we love linking up to every week!

Sunday, October 31, 2010

No budget? No Problem.

Happy Halloween everybody! This weekend we had a little Fall Festival at our church. Cory and I are both assigned to be on the activities committee, which means we get to help plan fun stuff to do! Our budget was a little tight, so we were going to dispose of the decorations portion...but for some reason, that just killed a little part of my soul. So, the hunt was on for some easy, fun, fall decorations, that would also cost zero dollars.

This is what we came up with: (I didn't have time/the foresight to take pictures at the festival Friday night, so this is my super glam backyard. Try not to be jealous)

FSU gives away free campus newspapers! So, we put those to work. Freya at The Creative Outlet found the idea for some super cute newspaper pinwheels. They were really easy to make! She also inspired me with her post about a print out pennant banner, which I basically ripped off. Thats how we roll.

Just glued on some letters to the pinwheels: Instant banner!

Here's our Welcome Sign. I can't wait to make a ton more of these for every holiday. All you need is cardstock, a printer, hole punch and some ribbon.


You'd like a better view? Here you go:

And, just a little bit more Halloween goodness:

I babysit a super sweet 8 year old girl after school 3 days a week. To get into the spirit of things this week we decided to mod podge a little pumpkin. If you look closely, you can see that the devil is frowning...

Happy Halloween!!!
Lindy


Don't forget to check out the "Party Central" tab to see what linky parties this project has been linked up with.

Friday, October 22, 2010

Card of the Week- It's your 30th?!?! birthday

Time flies when you are having fun. A good friend turns 30 this weekend and I wanted to post a quick "card of the week" post for his birthday card. He's a no nonsense, stick to the basics, laid back and funny guy, so I thought I'd do polka dots. Then I thought, I just did polka dots on every card I made last week. So, I went sleek and modern (at least this is what I'll call it). It's simple, but classic. And I like classic, I mean sleek and modern.


Don't be disappointed I didn't edit the pictures. It's a "well I'm posting, aren't I?" kinda day.
Related Posts Plugin for WordPress, Blogger...